


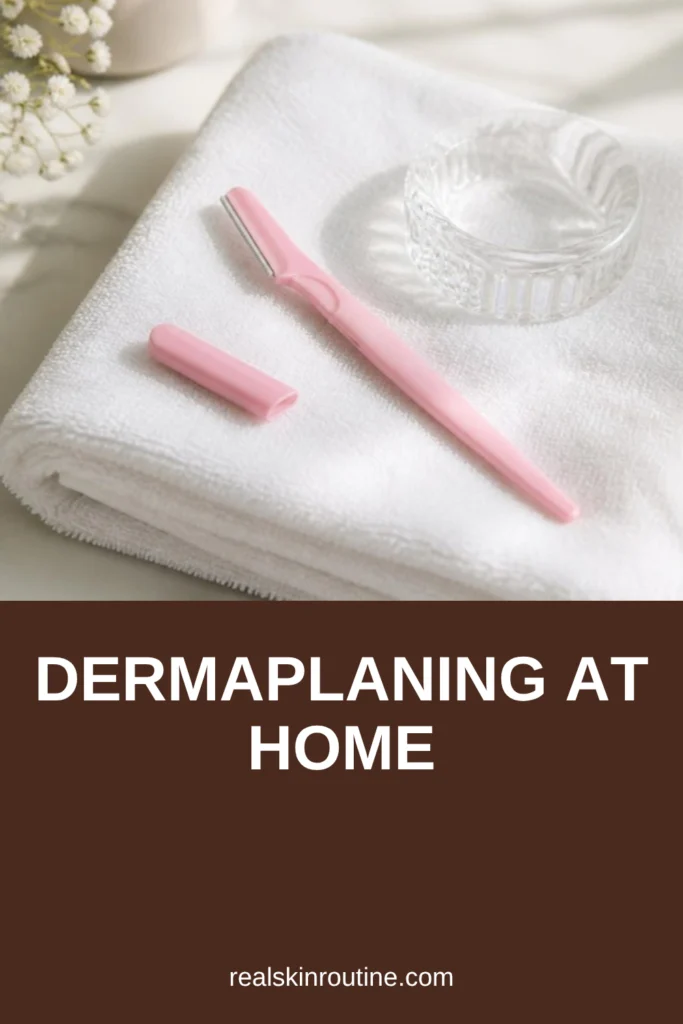
Quick answer: Dermaplaning at home means using a small single-blade facial razor to remove peach fuzz so makeup goes on smoother. Start on clean, dry skin, hold the blade at a low angle, use short, light strokes in the direction the hair grows, then rinse the blade often. The AAD’s shaving tips, like shaving with the grain and replacing blades regularly, apply here too (AAD).
Table of Contents
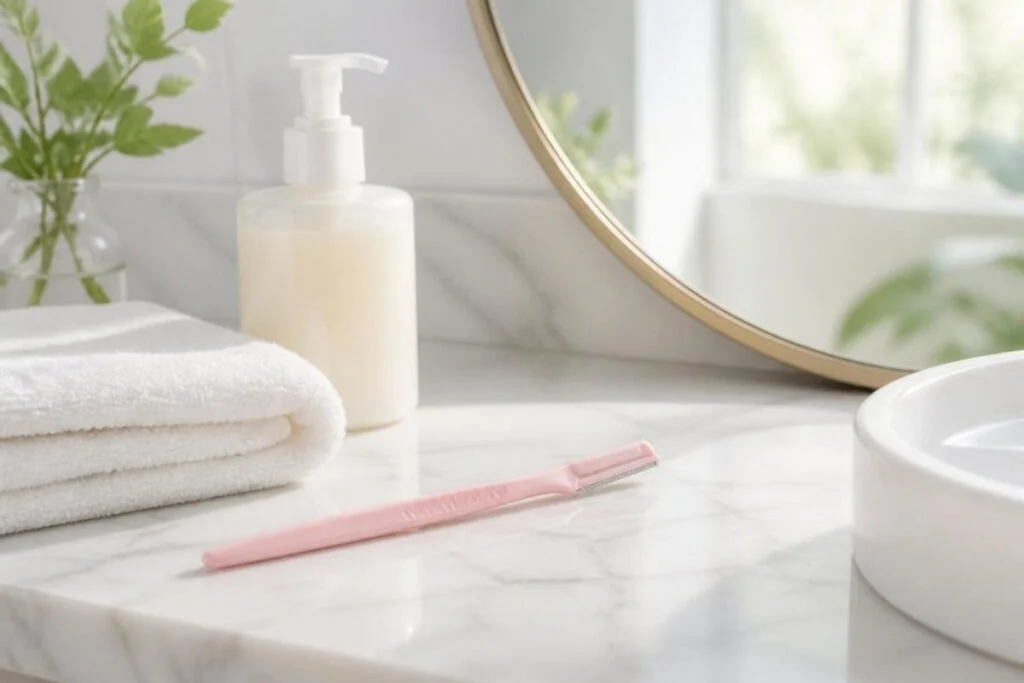
Dermaplaning at home: 7 easy steps
- Wash your face and pat it completely dry. Tie your hair back.
- Use a new or clean facial razor designed for the face.
- Hold the skin taut with your free hand.
- Hold the blade at a low angle, about 45 degrees or less, not straight up.
- Use short, light strokes in the direction the hair grows.
- Wipe the blade on a tissue after every few strokes.
- Rinse your face with lukewarm water and apply a gentle moisturizer.
Time: about 10 minutes. How often: many people do it every few weeks as peach fuzz grows back.
Is dermaplaning at home the same as shaving?
It’s a close cousin. At-home dermaplaning uses a small face razor, usually on dry skin, to remove fine vellus hair. Many of the AAD’s general shaving tips still carry over: shave in the direction the hair grows, rinse the blade after each swipe, change blades or throw away disposable razors after five to seven shaves, and store the razor somewhere dry (AAD).
Tools for dermaplaning at home compared
| Tool | Blade | Good to know |
|---|---|---|
| Disposable face razor | Single, small, with safety guard | Easy for beginners; replace often |
| Reusable handle with refills | Swappable blade | Less waste; keep refills dry |
| Electric facial trimmer | Covered cutting head | Trims rather than shaves; slightly less smooth |
This compares tool types by design, not our own testing.
Where to dermaplane (and where to skip)
- Do: cheeks, chin, jawline, upper lip and the sides of the forehead.
- Skip: eyebrows, eyelids and your hairline.
- Skip any area that’s irritated, broken or bumpy, and wait until it’s settled.
Before you try dermaplaning at home
Dermaplaning at home is a cosmetic grooming step, like shaving your legs. People do it so makeup goes on smoother and the face looks less fuzzy in daylight. It’s simple once you’ve done it a couple of times, but the first session goes better with a little prep.
Pick an evening when you’re not rushed, use good light, and have a clean towel and tissues ready. Go slowly around the jaw and the sides of the nose, where the angles change. If you feel tugging, the blade is probably dull, so switch to a fresh one.
- Timing: the evening before an event, not right before makeup.
- Light: a window or a bright mirror light so you can see fine hairs.
- Pressure: the weight of the razor is enough; don’t press.
Aftercare and blade care
- Apply a simple, fragrance-light moisturizer after you finish.
- Wear sunscreen the next morning as usual.
- Don’t share your razor, and store it dry with the cap on.
- Afterwards, a cooling ice roller for face session can feel nice before makeup.
For more on choosing, cleaning and storing your tools, see our guide to skincare tools.
FAQ
Should I dermaplane before makeup?
Many people do it the night before, so skin has time to settle before foundation.
How often should you dermaplane at home?
Every few weeks is common, as the fuzz grows back.
Do you dermaplane on wet or dry skin?
Most face razors are used on clean, dry skin. Follow your tool’s directions.
How often should I change the blade?
The AAD’s shaving tip is to change blades or toss disposables after five to seven shaves.
Can I use a regular razor on my face?
Face razors are smaller and easier to control around the nose and jaw, so most people prefer them.
What should I put on after dermaplaning?
A simple moisturizer at night, and your usual sunscreen the next morning.
Written by Mahmoud Abdelmaksoud.





2 comments