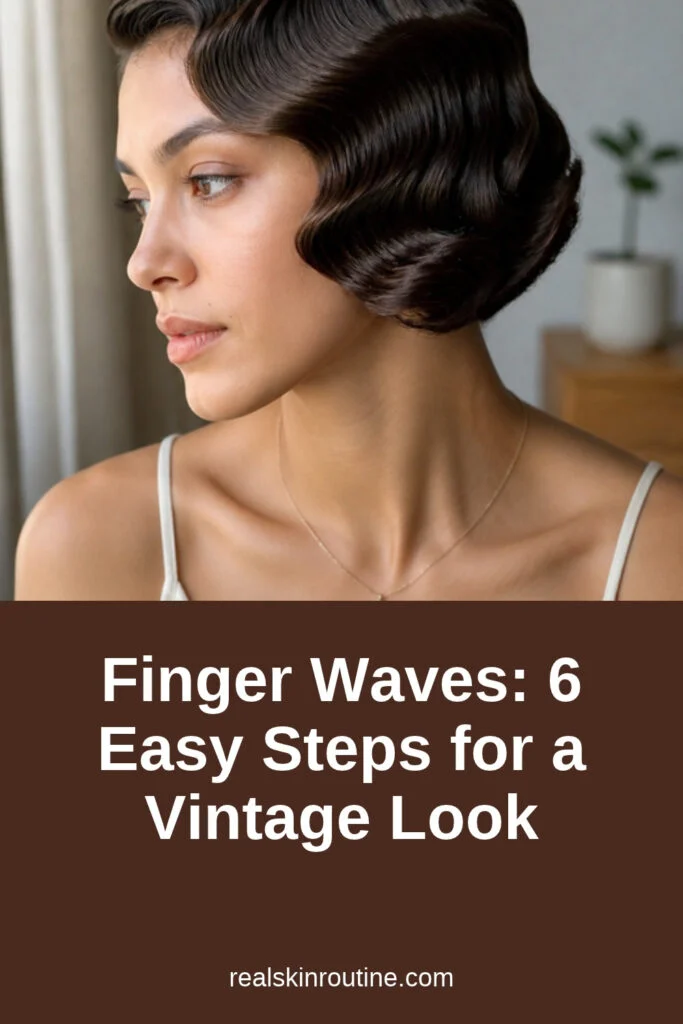
Quick answer: Finger waves are sculpted S-shaped waves that lie close to the head. Apply a setting gel to damp hair, comb a section forward, then use your finger and the comb to push the hair into a ridge. Hold each ridge with a clip, repeat in the opposite direction, and let the waves dry before removing the clips.
Table of Contents
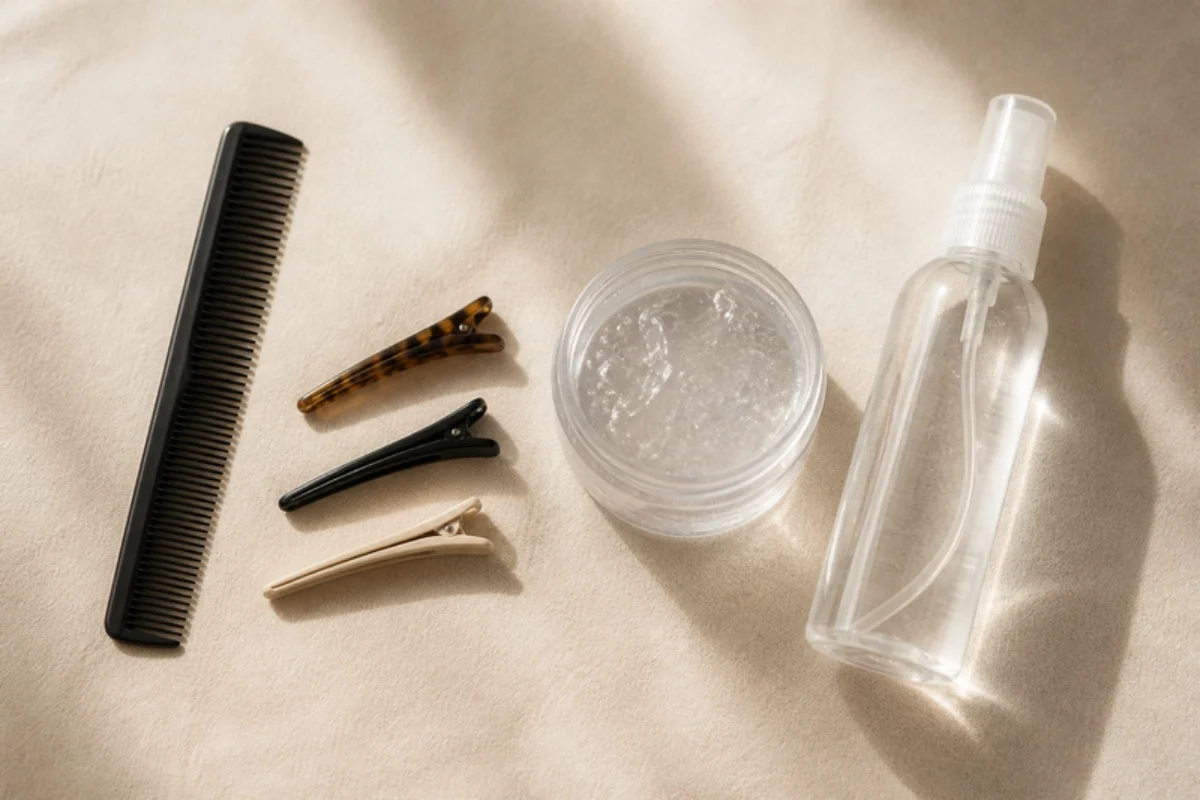
What you need
| Item | Why |
|---|---|
| Fine-tooth comb | Shapes each ridge |
| Setting gel | Holds the waves |
| Duckbill clips | Hold each ridge |
| Spray bottle | Keeps hair damp |
| Hood or air time | Lets waves dry |
Hair needs to stay damp while you shape it.
Who finger waves suit
Finger waves are classic on short hair, such as bobs and pixie cuts, where the waves lie flat and smooth. They also work on the front section of longer hair, pinned into a low bun at the back. Textured and curly hair can wear them with a stronger gel. They are a great choice for themed parties, weddings and evening looks.
How to create finger waves in 6 steps
- Apply gel. Work setting gel through damp hair.
- Make a part. A deep side part works best.
- Comb and push. Comb a section forward, place a finger above it and push the hair back to form a ridge.
- Clip the ridge. Hold it with a duckbill clip.
- Reverse direction. Comb the next section the other way to make an S shape.
- Dry and unclip. Let the hair dry fully, then remove the clips.
Each new ridge goes the opposite way to the last one.
Tips for smooth finger waves
- Keep hair damp. Re-mist as you go.
- Use enough gel. It sets the shape.
- Line up the ridges. Waves look neater.
- Be patient. Let the hair dry fully.
- Finish with shine. A drop of hair gloss or oil adds polish.
The AAD also suggests being gentle with wet hair and using a wide-tooth comb to detangle (AAD).
Common finger wave mistakes
- Hair drying too soon. The ridges will not form.
- Too little gel. Waves fall flat.
- Removing clips early. The shape is lost.
- Uneven sections. Waves look messy.
- Skipping the part. Waves have no clear start.
If a ridge goes wrong, re-wet that section and shape it again.
Ways to wear them
For a full vintage look, wave all of a short bob. On long hair, wave only the front and pin the rest into a low sleek bun. Add a small hair clip above one ear for a 1920s feel. For a softer version, brush the dry waves lightly with a boar bristle brush. Keep edges neat with a little edge control.
Hair care tips
Wash out the gel at the end of the day so it does not build up. The AAD advises wearing your hair loose when you can and keeping ponytails, buns and braids loose rather than tight, because tight styles pull on the hair (AAD).
For daily care, see our hair care routine. Finger waves take practice, but the result is pure vintage glamour.
FAQ
Do they need heat?
No, they can air dry.
Do they work on long hair?
Yes, on the front section.
What product do I need?
A setting gel or styling lotion.
How long do they last?
Usually until the next wash.
Can I do them on curly hair?
Yes, with a stronger gel.
Are they hard to do?
They take practice and patience.
Related guide: Pin Curls: How to Set Soft Vintage Curls.
Written by Mahmoud Abdelmaksoud.