


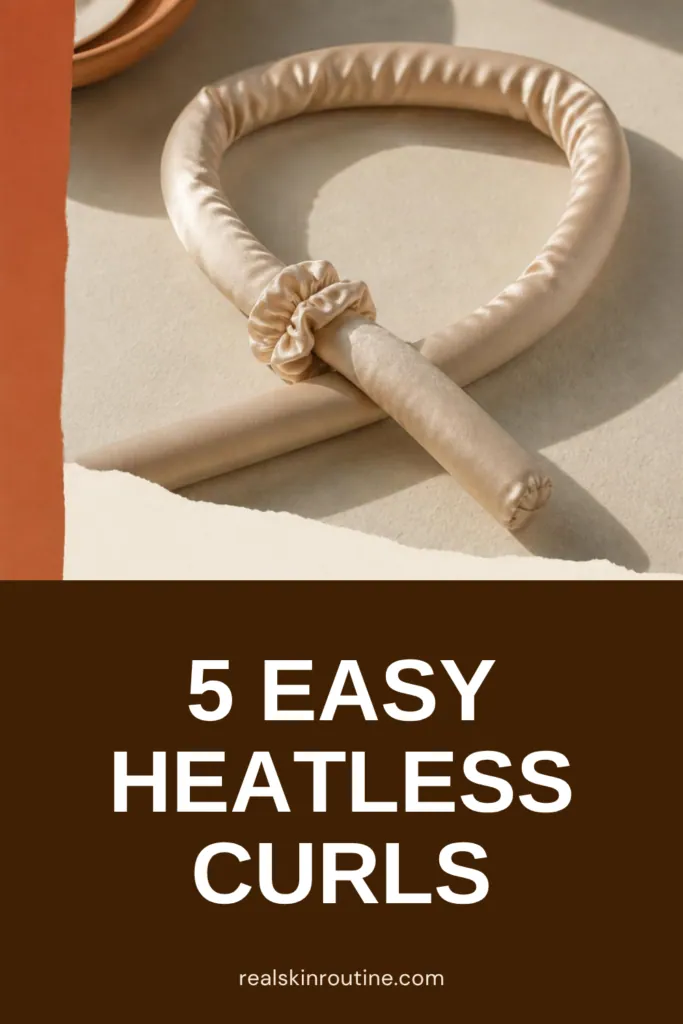
Quick answer: The easiest heatless curls come from wrapping slightly damp hair around a soft rod, headband or robe tie, sleeping on it, and unwrapping in the morning. Mostly-dry hair works best. Soaking wet hair may still be damp by morning. Finger-comb, add a little hairspray, and you’re done.
Table of Contents
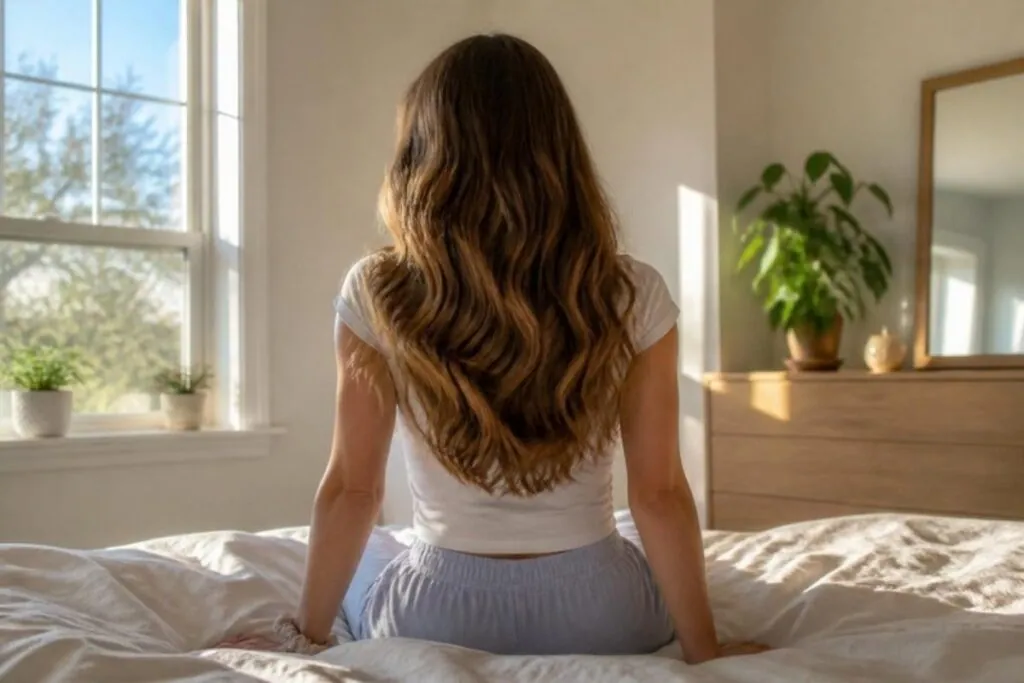
Your heatless curls routine at a glance
- Start with hair that’s mostly dry, just a little damp.
- Apply a small amount of mousse or leave-in.
- Wrap sections of hair around your rod, headband or robe tie.
- Secure the ends with scrunchies, then sleep on a satin pillowcase or scarf.
- Unwrap in the morning, finger-comb gently, and finish with a light hairspray.
Time: about 10 minutes to set, then overnight.
What is the easiest way to do heatless curls?
For most people, it’s the rod method: a soft curling rod (or a robe tie) placed on top of your head, with hair wrapped around each side. It takes two sections, a couple of scrunchies, and no real skill. If you have short hair or want tighter curls, flexi rods are easier to control.
Do you do heatless curls wet or dry?
Slightly damp is the sweet spot for most hair. Here’s the trade-off:
- Too wet: the wrapped hair may not fully dry overnight, especially if it’s thick. You wake up to damp, limp curls.
- Totally dry: fine or straight hair may not hold the shape. A spritz of water or some mousse helps.
- Mostly dry: dries in time and still sets well.
Thick hair dries slower, so start drier. Fine hair can start a bit damper.
5 heatless curl methods compared
| Method | What you need | Best hair length | Curl result |
|---|---|---|---|
| Robe tie / curling rod | Satin rod or a robe tie, 2 scrunchies | Shoulder length and longer | Big, soft curls |
| Headband wrap | Stretchy headband | Medium to long | Loose waves |
| Braids | Hair ties | Any length that braids | Crimped waves |
| Flexi rods | A set of flexi rods | Short to long | Defined, tighter curls |
| Sock bun / scrunchie | Clean sock or large scrunchie | Medium to long | Loose, bouncy waves |
Robe tie / curling rod
Put the middle of the rod on top of your head, like a headband going front to back. Split your hair into two sides. Take a small piece near your face and wrap it over the rod, add a little more hair, and keep wrapping down, the same way you’d French braid. Secure each end with a scrunchie. Wrap away from your face for an open, face-framing look.
Headband wrap
Put a stretchy headband on like a crown. Take sections of hair and tuck them over and under the band, working around your head. Tuck the ends in. Waves come out softer than the rod method, and it’s comfy to sleep in.
Braids
Braid slightly damp hair into two or more braids. More braids means smaller waves. Braid all the way to the ends, or the bottom will stay straight. It’s the method that needs no special tools.
Flexi rods
Wrap a small section of hair around each rod from the ends up to the root, then bend the rod’s ends to lock it. Thinner rods give tighter curls. This one takes the longest to set, but it works on shorter hair where rods and headbands can’t reach.
Sock bun / scrunchie
Make a high ponytail. Roll the ends of your hair around a clean sock (or a big scrunchie) and keep rolling down to your head, like a donut bun. Pin it and sleep. It’s quick and gives loose, bouncy waves.
Is 2 hours enough for heatless curls?
Sometimes. It depends on how damp your hair is and how thick it is. If you start with fully dry hair and some mousse or a spritz of water, a couple of hours may be enough for loose waves. If the hair is still damp when you unwrap, the curls will fall. Check one section before you take everything down. Overnight gives the most reliable result.
What are the downsides of heatless curls?
- It takes planning. You need to set them the night before.
- Sleeping can be uncomfortable, especially with flexi rods.
- Results vary. Very straight or fine hair may drop fast. Thick hair may not dry.
- Kinks and dents from scrunchies or ties if you wrap too tight.
- Tension. Wrapping too tightly is uncomfortable and leaves dents. Keep it snug, not tight.
How to make heatless curls last
- Use a little mousse or leave-in before you wrap.
- Make sure your hair is 100% dry before you unwrap.
- Separate curls with your fingers, not a brush.
- Finish with a light hairspray.
- On night two, loosely twist your hair on top of your head, or sleep on satin, to keep the shape.
Curls done? Keep ends soft with our guide to coconut oil for hair, and try a scalp massager on wash day. Skipping hot tools also fits the American Academy of Dermatology’s tips for healthy hair, which note that excessive heat can damage hair.
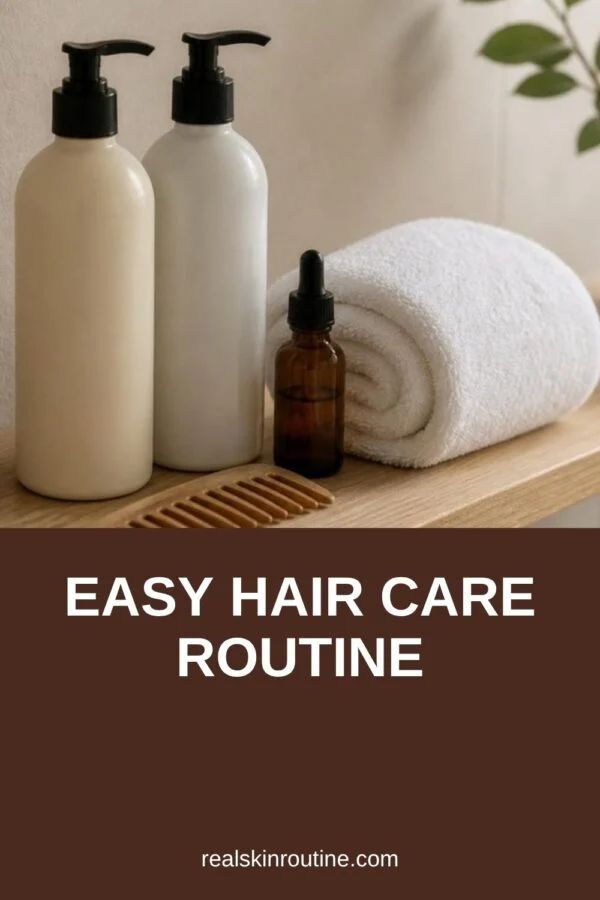
To see where this fits, read our easy hair care routine guide from wash day to styling.
FAQ
What is the easiest way to do heatless curls?
The rod or robe-tie method. Wrap two sections of slightly damp hair around a soft rod on top of your head, secure with scrunchies, and sleep on it.
Do you do heatless curls wet or dry?
Slightly damp, not soaking. Wet hair may not dry overnight, and fully dry hair may not hold the shape without some mousse or a spritz of water.
What are the downsides of heatless curls?
They take overnight planning, can be uncomfortable to sleep in, and don’t hold as well on very straight or fine hair. Wrapping too tight can also leave dents.
Is 2 hours enough for heatless curls?
It can be for loose waves if you start with dry hair and a setting product. If your hair is still damp when you unwrap, leave it longer.
Written by Mahmoud Abdelmaksoud.

1 comment