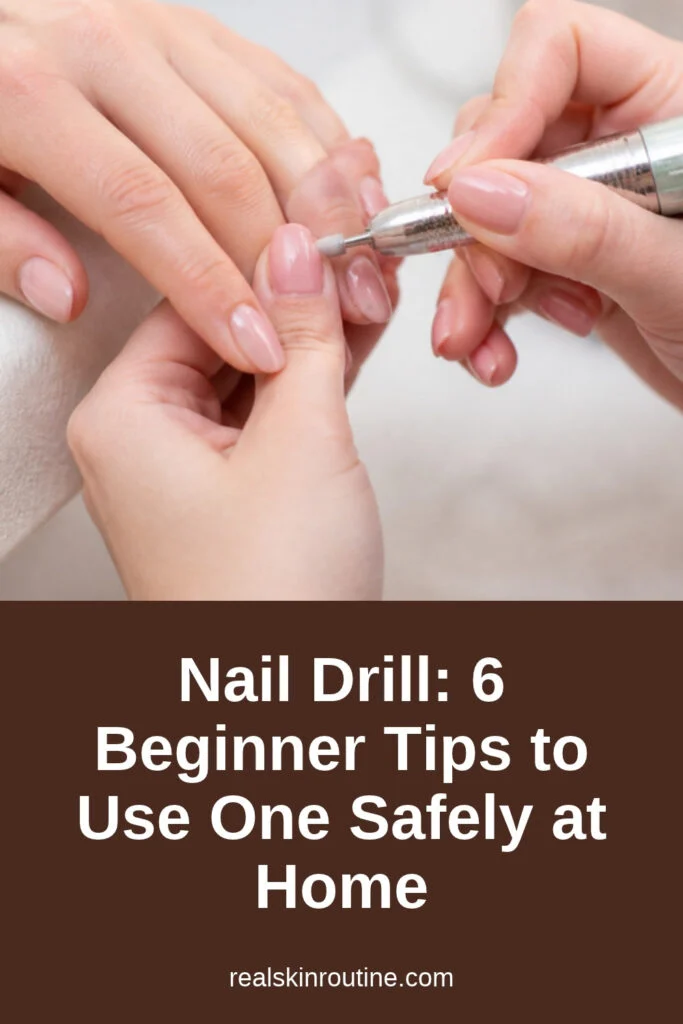
Quick answer: A nail drill, or e-file, is an electric tool with small spinning bits that shape and buff nails and thin gel or acrylic before removal. Beginners should use a low speed, a fine sanding band, light pressure and keep the bit moving. Never drill on the natural nail plate or the cuticle skin.
Table of Contents

Beginner nail drill bits
| Bit | Use | Beginner tip |
|---|---|---|
| Sanding band (fine) | Shape and thin product | Start here |
| Barrel bit | Shortening and surface work | Use low speed |
| Cone or flame bit | Cuticle-area cleanup | Advanced only |
| Buffing bit | Smooth surface | Very light pressure |
Start with a fine sanding band and low speed; add other bits once you are comfortable with your nail drill.
Who a nail drill suits
A nail drill suits people who do gel, dip or acrylic sets at home often and want faster, smoother results. If you only wear regular polish, a nail file and nail buffer are all you need. Because a nail drill spins quickly, it takes practice; go slowly and practice on press-on tips before working on your own nails.
How to use a nail drill in 6 steps
- Read the manual. Learn the speed settings.
- Choose a fine bit. A sanding band is beginner-friendly.
- Start on low speed. Increase only as needed.
- Hold it like a pencil. Rest your hand for control.
- Keep the bit moving. Staying in one spot creates heat.
- Use light pressure. Let the tool do the work.
Stop if you feel heat or discomfort, and take short breaks.
Safety tips for a nail drill
- Do not drill the natural nail plate. Use it on product only.
- Avoid the cuticle skin. Keep a small gap.
- Wear eye protection. Dust can fly.
- Clean bits after use. Brush off dust and wash as the maker says.
- Work in a ventilated room. Dust and fumes add up.
If you are unsure, finish removal by soaking as in our gel removal guide.
Common nail drill mistakes
- Using high speed too soon. Builds heat fast.
- Pressing hard. Can thin the nail.
- Using coarse bits. Too aggressive for beginners.
- Drilling in one spot. Creates heat and dents.
- Skipping cleanup. Dusty bits work poorly.
Slow, steady passes keep the nail looking smooth.
How to clean and store the tool
After each session, unplug the tool, brush dust off the handpiece and bits, and clean the bits as the maker suggests. Store bits in a closed case so they stay dry and do not get dull. Replace sanding bands after each set, since used bands hold dust and can be unhygienic. Keep the cord untangled and the device away from water and heat, and check the handpiece for wobbling before each use.
Nail product safety
The FDA advises reading nail product labels, following every warning, working in a well-ventilated room and keeping products away from heat and your eyes (FDA). The AAD advises against cutting or removing cuticles, because they protect the nail (AAD). Keep the tool unplugged and stored safely after use.
See also nail care tools and gel nails at home. Used gently, a nail drill can make at-home sets faster and neater.
FAQ
Is it safe for beginners?
Yes with low speed, light pressure and fine bits.
Can I use it on natural nails?
Avoid drilling the natural nail plate.
What speed should I use?
Start low and increase slowly.
Which bit is best for beginners?
A fine sanding band.
Do I still need a nail file?
Yes, for gentle shaping.
Can I remove gel with it?
Thin the gel, then soak off the rest.
Related guide: Dip Powder Nails at Home: A Beginner Guide.
Written by Mahmoud Abdelmaksoud.