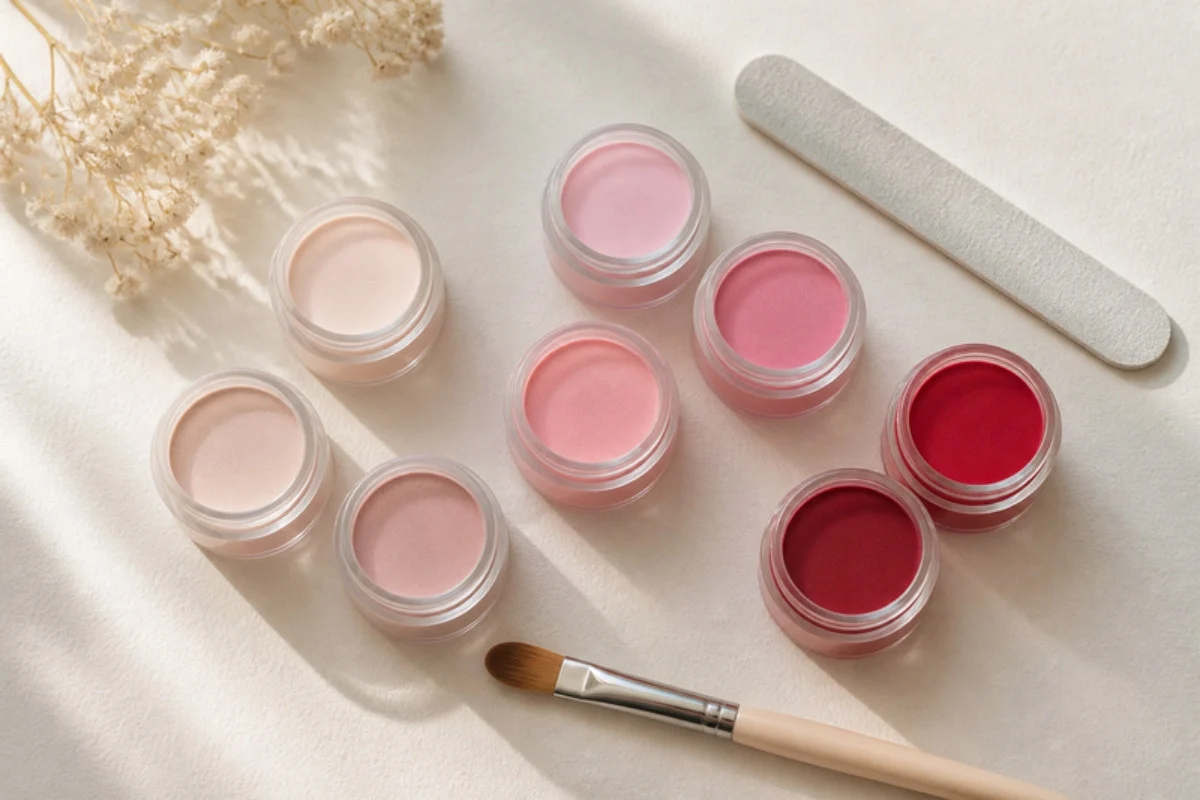
Quick answer: Dip powder nails use a liquid base and colored powder to build a strong, glossy layer without a nail lamp. You brush on the base, dip or sprinkle the powder, repeat for coverage, then use the activator, shape the nails and finish with top coat. They usually last longer than regular polish.
Table of Contents
Dip powder nails vs gel and polish
| Dip powder | Gel | Regular polish | |
|---|---|---|---|
| Lamp needed | No | Yes | No |
| Feel | Thick and strong | Thin and flexible | Thin |
| Removal | Soak | Soak | Remover |
| Skill level | Medium | Medium | Easy |
Dip powder nails feel thicker than gel, which many people like for strength, but removal takes a soak, just like gel.
Who dip powder nails suit
Dip powder nails suit people who want a manicure that lasts and do not want to buy a nail lamp. They are a good fit if your polish chips quickly. Because the layers are thicker, they can feel bulky on very short nails, so keep coats thin. If you prefer a slimmer finish, our gel nails at home guide is another option. For hygiene, sprinkle powder over the nail rather than dipping into a shared jar.
How to do dip powder nails in 7 steps
- Prep the nails. Remove old polish. File in one direction rather than sawing back and forth, as the AAD suggests (AAD).
- Wipe the nail plate. Remove oils so layers stick.
- Brush on the base. Keep it off the skin.
- Add the powder. Dip or sprinkle, then tap off the extra.
- Repeat for color. Two or three thin layers.
- Apply activator. Let it set as the kit says, then shape.
- Finish with top coat. Two thin coats for shine.
Work on one nail at a time so the base does not dry before the powder goes on.
Tips for smoother dip powder nails
- Use thin layers. Thick layers look bulky.
- Wipe brushes often. Powder on the brush can clump.
- Keep the cuticle area clear. This stops lifting.
- Cap the free edge. Run base and powder over the tip.
- Buff before top coat. A smooth surface shines more.
A nail buffer helps smooth the surface before the final coat.
How to remove dip powder nails
- File off the shine. Gently break the top coat.
- Soak in acetone. Use cotton and foil or a bowl.
- Wait patiently. Let the layers soften.
- Push off softened powder gently. Use a wooden stick.
- Moisturize. Use cuticle oil afterward.
Do not pry or peel dip powder off. Patience protects the nail surface.
How to keep your kit clean
Keep powder jars closed when you are not using them, since moisture and dust can clump the powder. Wipe brush bristles after each layer and replace brushes that become hard or splayed. Store liquids upright, tightly capped and away from heat or sunlight. Use a clean bowl or tray to catch the powder you sprinkle, and avoid pouring used powder back into the jar so the kit stays clean for next time.
Nail product safety
The FDA advises reading nail product labels, following every warning, working in a well-ventilated room and keeping products away from heat and your eyes (FDA). The AAD advises against cutting or removing cuticles, because they protect the nail (AAD).
See also nail care tools and nail care. With practice, dip powder nails give a strong, glossy manicure at home.
FAQ
Do dip powder nails need a lamp?
No, the activator sets the layers.
How long do dip powder nails last?
Often longer than regular polish.
Are they thick?
Thicker than gel; use thin layers.
Can I dip into the jar?
Sprinkling over a bowl is more hygienic.
How do I remove them?
Soak in acetone; do not peel.
Can I do French tips with dip?
Yes, kits often include white powder for tips.
Related guide: Nail Glue: How to Use It for Press-On Nails.
Written by Mahmoud Abdelmaksoud.