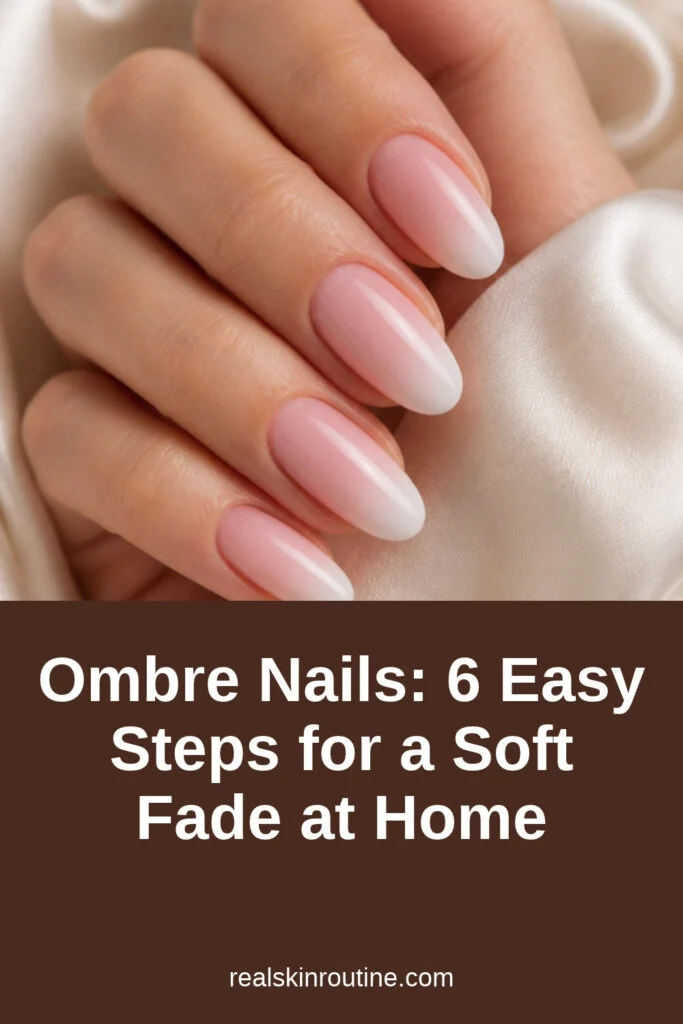
Quick answer: Ombre nails fade from one color to another. The easiest way at home is to paint two stripes of polish side by side on a makeup sponge, dab the sponge onto a base coat, build two or three layers, clean the skin around the nail and seal it with a glossy top coat.
Table of Contents

Popular ombre nails color pairs
| Pair | Look | Good for |
|---|---|---|
| Pink and white | Soft, French-style fade | Every day and weddings |
| Nude and white | Clean and simple | The office |
| Two blues | Cool and calm | Summer |
| Burgundy and gold glitter | Rich and festive | Holidays |
Pick two shades that blend well. Colors close together on the color wheel give the smoothest ombre nails.
Who ombre nails suit
Ombre nails suit any nail length and shape. A soft pink-to-white fade looks natural and grows out gracefully, because the color is lighter near the cuticle. Bolder pairs are fun for holidays and vacations. If you have never tried nail art, ombre nails are a great first design because the sponge does most of the blending. They also look lovely with a glossy top coat.
How to do ombre nails in 6 steps
- Apply a base coat. Let it dry.
- Paint a light base color. Use the lighter shade of your pair.
- Stripe polish on a sponge. Paint two colors side by side, slightly overlapping.
- Dab onto the nail. Press and roll gently to blend.
- Repeat two or three times. Build color with thin layers.
- Clean up and seal. Wipe skin with remover on a brush, then add top coat.
Put liquid latex or tape around the nail first to make clean-up easier.
Tips for smoother ombre nails
- Use a fresh sponge part each time. Dried polish blends poorly.
- Work one nail at a time. The polish on the sponge dries fast.
- Choose a glossy top coat. It smooths the sponge texture.
- Blend the line. Dab a little more where the colors meet.
- Try glitter on the tips. It hides any uneven spots.
A damp sponge soaks up less polish, so you waste less.
Common ombre nails mistakes
- Using thick polish layers. They stay tacky and textured.
- Skipping the base coat. Colors can stain the nail.
- Not cleaning skin around the nail. Leftover polish looks messy.
- Pressing too hard. You get bubbles.
- Rushing the top coat. Let layers dry a little first.
Practice on a couple of nails first, then do the rest.
Ombre ideas for every season
For spring, try lilac fading into white. Summer suits coral into yellow or two shades of turquoise. For autumn, a warm brown into caramel looks cozy, and in winter a deep burgundy into gold glitter feels festive. A baby boomer style, which is a milky pink fading into white, is a classic choice for weddings. Keep the tips lighter if you want the design to grow out gently, and add a glossy finish so the blend looks seamless.
Nail product safety
The FDA advises reading nail product labels, following every warning, working in a well-ventilated room and keeping products away from heat and your eyes (FDA). The AAD advises against cutting or removing cuticles, because they protect the nail (AAD).
Learn the basics in nail art for beginners and French manicure. Ombre nails are one of the easiest designs to master.
FAQ
What sponge should I use for ombre nails?
A makeup sponge or a cut piece of kitchen sponge works.
How do I clean polish off my skin?
Use a small brush dipped in remover.
Can I do ombre nails with gel?
Yes, many people blend gel with a brush instead.
Why is my ombre bumpy?
Thick layers or not enough top coat.
Is ombre the same as French?
No, French uses a clean tip line; ombre is a blend.
How many layers do I need?
Usually two or three dabs.
Related guide: Chrome Nails at Home: How to Get the Mirror Shine.
Written by Mahmoud Abdelmaksoud.