Quick answer: A cut crease is an eye look with a sharp line that separates a darker crease from a bright lid. Blend a brown shade into your crease, then use concealer on a flat brush to “cut” a clean shape across the lid while your eye is looking up. Set the concealer with a light shimmer or matte shade and finish with liner and mascara.
Table of Contents
What you need for a cut crease
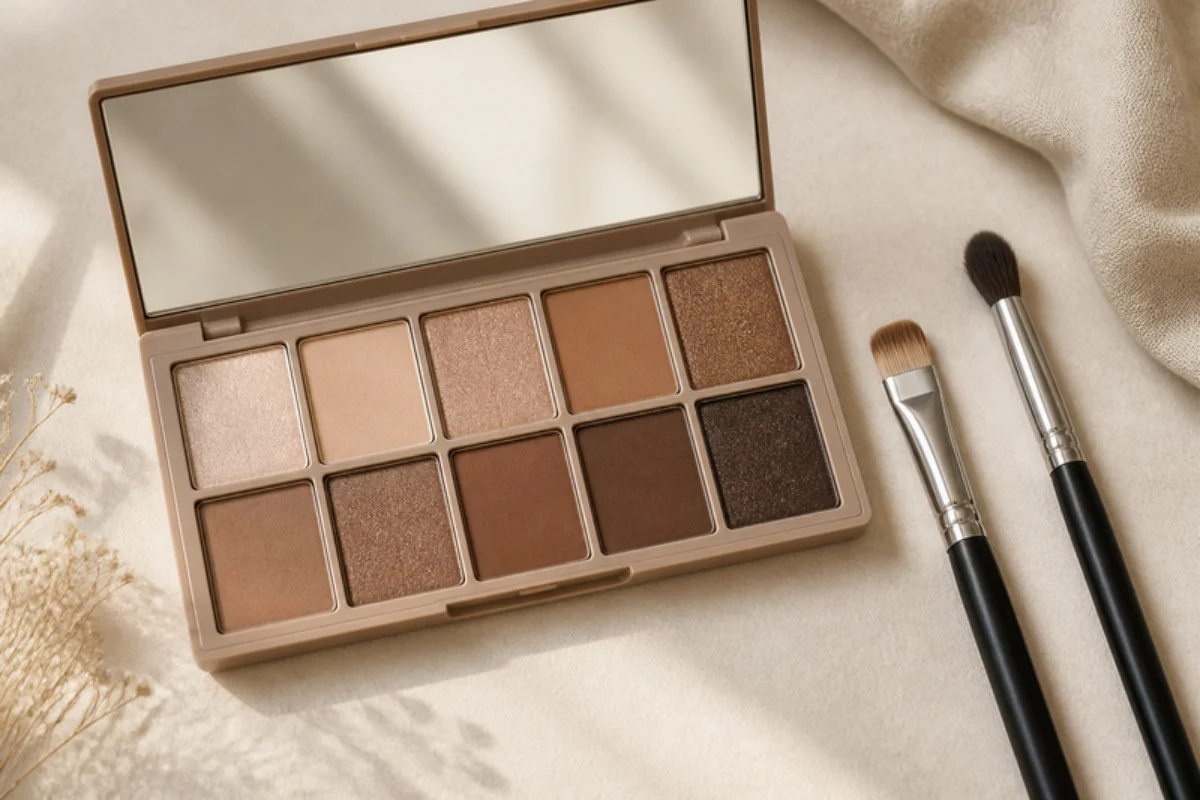
| Tool | Why you need it |
|---|---|
| Eye primer | Helps shadow grip and blend |
| Matte transition and crease shades | Build depth |
| Concealer and a flat brush | Cut the clean line |
| Lid shade (shimmer or matte) | Brightens the lid |
| Fluffy blending brush | Softens the edges |
Any basic palette with a light, a medium and a deep shade is enough to start.
Who a cut crease suits
A cut crease suits anyone who wants a polished, lifted eye look for an event or photos. On hooded eyes, place the cut slightly above your natural crease with your eye open so the shape still shows. If you prefer softer looks, a half cut crease that only covers the inner part of the lid is easier to wear. Our how to apply eyeshadow guide covers the blending basics.
How to do a cut crease in 6 steps
- Prime the lid. Apply a thin layer of primer up to the brow bone.
- Blend a transition shade. Sweep a soft matte brown just above the crease.
- Deepen the crease. Press a darker shade into the outer crease and blend.
- Cut the crease. Look up, then use concealer on a flat brush to draw a curve along the crease and fill in the lid below it.
- Set the lid. Pat a shimmer or light matte shade over the concealer.
- Finish. Add liner and mascara.
Keep your eye looking up when you cut, so the line lands where it shows.
Tips for a clean cut crease
- Use a small amount of concealer. Too much creases and moves.
- Clean the brush edge. A sharp edge gives a sharp line.
- Check with eyes open. Adjust the height if it disappears.
- Blend only above the line. Keep the cut edge crisp.
- Add lashes for drama. See how to apply false lashes.
Practice one eye first, then match the second.
Common cut crease mistakes
- Cutting too low. The line hides on hooded lids.
- Skipping primer. Shadow fades and creases.
- Heavy lid product. It creases during the day.
- Uneven sides. Take photos to compare.
- Dirty brushes. They muddy the colors.
The AAD recommends cleaning makeup brushes regularly, because product, oil and dirt build up in the bristles (AAD).
Color ideas to try
For a first try, pick warm browns with a champagne lid, which suits most skin tones. A rose gold lid with a mauve crease looks soft and romantic. For a party, try a plum crease with a gold shimmer lid, or a navy crease with a silver lid for a cool contrast. Keep the rest of the face simple, with soft blush and a neutral lip, so the eyes stay the focus.
Eye makeup safety
The FDA advises never sharing eye makeup, using only products meant for the eye area near your eyes and skipping eye makeup if your eyes are irritated (FDA). The AAD suggests checking the period-after-opening symbol on the pack and throwing out makeup that smells odd or changes in texture or color (AAD).
For a full glam look, pair it with our soft glam makeup guide and the tools in makeup brushes. A cut crease looks impressive, but it is just a few simple steps.
FAQ
Is a cut crease hard?
It looks hard, but the concealer trick makes it simple.
Can I do it on hooded eyes?
Yes, place the cut a little higher with your eye open.
What can I use instead of concealer?
A light cream eyeshadow works too.
Do I need special brushes?
A flat brush and a fluffy blending brush are enough.
How do I make it softer?
Try a half cut crease or blend the edge lightly.
Is it good for everyday?
Many people keep it for events, but soft versions work daily.
Related guide: Smokey Eye for Beginners: A Simple Step-by-Step.
Written by Mahmoud Abdelmaksoud.